As an Amazon Associate, we earn from qualifying purchases. Some links on this site are affiliate links at no extra cost to you. Our recommendations are based on thorough research and editorial judgment.

Proxy Editing Explained: Editing 4K Smoothly on Average Computers
Proxy editing allows us to efficiently edit 4K video on average computers by using lower-resolution copies of our original footage, greatly reducing file sizes. This process enables smoother playback and faster rendering times, which is essential for maintaining workflow efficiency when working on complex projects. Setting up proxies in Premiere Pro involves selecting high-resolution clips and enabling automatic proxy creation. By optimizing our proxy workflow, we can enhance our editing experience and performance. Further insights await us ahead.
Key Takeaways
- Proxy editing creates smaller, lower-resolution versions of 4K footage, enabling smoother playback on average computers during editing.
- In Premiere Pro, activate the “Ingest” option in the Media Browser to automatically create proxy files upon import.
- Use the “H.264 Quicktime Proxy” preset for an optimal balance between file size and quality during proxy creation.
- Adjust playback resolution to 1/2 or 1/4 to enhance performance and reduce strain on your editing software while managing multiple layers.
- Maintain organized folders for proxies and original files to streamline workflow and facilitate quick switching during the editing process.
Understanding the Essentials of Proxy Editing for 4K Video
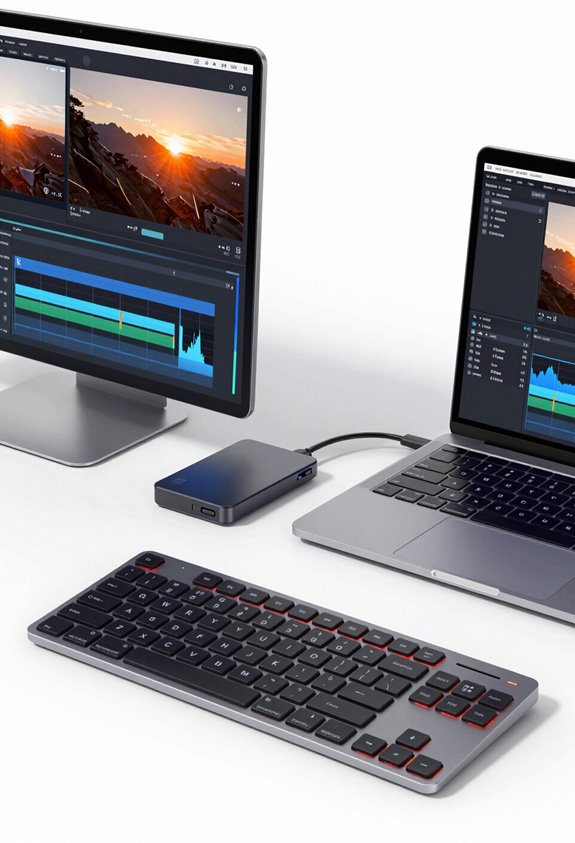
You know how working with 4K video can feel like a struggle sometimes because of those huge file sizes? That’s where proxy editing steps in and saves the day! Basically, proxy editing involves creating smaller, lower-resolution copies of your original footage, which makes it way easier to handle during the editing process. For instance, if you’re editing a long video with lots of 4K clips, using proxies can significantly speed up playback and let you edit smoothly, even on average computers.
The cool thing about proxies is that they stay linked to your original files. So, when you need to fine-tune your footage or check details, you can switch back to the full resolution instantly. This link not only minimizes the amount of data you’re moving around but also makes collaboration more straightforward. Imagine working on a project with a team—everyone can edit without the hassle of waiting for large files to load. Plus, faster rendering times mean you spend less time waiting and more time bringing your creative vision to life. Additionally, selecting cameras with strong image stabilization features can improve your original footage quality, making proxy editing even more effective.
How Proxy Editing Enhances Performance on Average Computers

Proxy editing is such a lifesaver when you’re working with high-resolution 4K footage on an average computer. Basically, it allows you to create smaller versions of your videos, called proxy files, which can be up to five times smaller than the original files. This means your computer has an easier time processing everything, so you can enjoy much smoother playback, even when you have multiple video and audio layers or some fancy effects going on.
For example, if you’re editing a dramatic scene with a lot of visual effects, using proxy files lets you work without those annoying lags that can pop up with full-resolution footage. Plus, switching back and forth between the proxy and the original is a breeze, ensuring your creative flow isn’t disrupted by your computer’s limitations.
Another great tip is to generate these proxies right when you import your files. This not only makes things faster but also keeps all your essential editing tools readily available. So, it really speeds up your workflow without cutting corners on quality, allowing you to focus more on being creative instead of being frustrated with technical issues. Now, let’s chat about some practical software options that support proxy editing! Additionally, using digital anti-shake technology in your footage can help maintain smoothness and clarity during editing.
Step-by-Step Guide to Setting Up Your Proxy Workflow in Premiere Pro
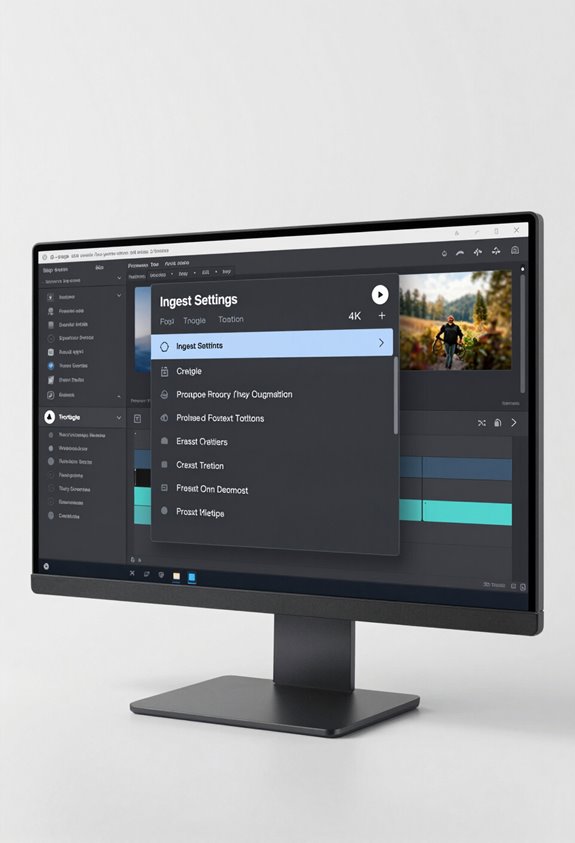
If you’re looking to enhance your editing experience in Adobe Premiere, setting up a solid proxy workflow is key, especially when handling high-resolution footage like 4K. Let’s tackle how to do this step by step! First off, open up your Media Browser panel and select your high-resolution 4K clips. Make sure to tick the “Ingest” option. This simple step ensures that Premiere automatically creates proxy files when you import your footage, which saves you a ton of time later.
For the proxy preset, I recommend going with something like “H.264 Quicktime Proxy.” It strikes a great balance between quality and performance, reducing the file size significantly from that hefty 250 Mbps of your original 4K footage. Organizing your project is essential too, so keep your proxies in the same folder as your original files. This way, everything stays tidy and easy to navigate!
Lastly, to switch between your proxy and original footage effortlessly during editing, just hit the blue Toggle Proxies button. It’s super handy! With this setup, you’ll notice how much smoother your editing process can be, making it easier to focus on being creative without technical hiccups getting in the way. Now, let’s move on to looking at how to manage your projects more effectively!
Using camcorders with 4K Ultra HD video resolution ensures you get the highest quality footage to work with in your proxy workflow.
Common Proxy Editing Problems and How to Fix Them
When it comes to proxy editing, it’s not uncommon to run into a few bumps along the way that can mess with your flow. For instance, if you find that playback is choppy or stuttering—especially when you’re throwing effects like Lumetri color correction on high-res footage—it can be pretty frustrating. Sometimes, if you see those annoying pillar bars during playback, it could mean there’s something off with your proxy settings or even Premiere Pro’s playback setup.
One quick fix is to disable Intel acceleration for decoding; I’ve noticed that it can really smooth out the playback. Also, turning off features like Max Render Quality usually helps too. If you’re experimenting with proxy formats and suddenly your audio goes haywire or the proxies become unrecognized, it’s best to stick with solid formats like H.264 when creating your proxies. Oh, and don’t forget to regularly clean your media cache and reset Premiere Pro preferences—it’s like giving your editing software a little spring cleaning!
Additionally, maintaining proper sizing and compatibility when working with proxy files can significantly improve editing efficiency and playback smoothness.
These steps should help you tackle those proxy editing hurdles with ease. Next, let’s look at some effective strategies for organizing your projects to keep everything running smoothly.
Why Using Proxies Rocks for Remote Video Collaboration
You know how frustrating remote video collaboration can be, especially when you’re trying to work with large files? That’s where using proxies comes in handy. Essentially, proxies are smaller, lower-resolution versions of your video files that make life a lot easier. Imagine you have a massive 500GB project—you can chop that down to just 25GB with proxies. This means quicker uploads and downloads when you’re working together with a team, saving you a ton of time and headaches.
Let’s say you’re editing a 4K project on your average computer. With proxies, you can play back your footage smoothly and edit multiple video and audio layers without any annoying lag in software like Premiere Pro. It’s like switching from a slow, clunky car to a zippy little ride. You can easily toggle between low-res versions for editing and switch back to the high-res files for final touches. This simple shift makes the entire editing process feel more relaxed, allowing you to focus on creativity rather than technical hiccups.
Using advanced image stabilization in your original 4K files can ensure that even when you switch back from proxies, your footage remains smooth and professional.
All in all, using proxies not only keeps your projects rolling on time but also makes remote collaboration a breeze. So, next time you’re tackling a big video project, consider how proxies could enhance your workflow. It’s a little tech trick that can really make a difference!
How Do I Optimize Proxy Editing for Speed?
Hey! If you’re looking to optimize proxy editing for speed, I’ve got some great tips that can really enhance your workflow, especially when working with high-resolution projects. First off, using lower resolution proxy formats like H.264 or ProRes Proxy can make a huge difference. They shrink file sizes and lighten the load on your system while still looking pretty decent. For instance, when I switched to using ProRes Proxy for a recent project, I noticed my editing software was much more responsive.
Another trick is to adjust the playback resolution in your editing software to 1/2 or 1/4. This little change can significantly improve performance, especially when you’re dealing with multiple layers or effects. In Premiere Pro, you might want to turn off options like “Max Bit Depth” and “Max Render Quality” in the preferences. I found that doing this made my playback noticeably smoother when working on more complex sequences.
Keeping your proxies organized in clear folders also goes a long way. It lets you quickly switch between your proxies and original video without wasting time hunting them down. And don’t forget to regularly clear out your media cache; it helps keep everything running smoothly as you edit with those proxies. Using efficient lighting like energy-efficient LED lights while filming can further support a smooth post-production workflow. Now that you have a handle on optimizing your proxy editing, we can chat about how to keep your overall editing workflow efficient!
Frequently Asked Questions
Can My Computer Handle 4K Video Editing?
Can our computer handle 4K video editing? If we’ve got decent specs and optimized editing software, we may just enjoy smoother playback and better performance. Otherwise, we’ll likely face frustrating playback issues while editing.
How Does Proxy Editing Work?
Proxy editing works by creating lower-resolution files in a proxy workflow, allowing us to edit smoothly without overwhelming our computers. The editing benefits include faster rendering and seamless changes to high-quality footage for final exports.
What Is the 80 20 Rule in Video Editing?
They say, “less is more,” and in video editing, the 80/20 rule highlights how 20% of our editing techniques create 80% of the impact, boosting our video efficiency by prioritizing key elements that shine.
How to Play 4K Video on PC Smoothly?
To play 4K video smoothly on our PCs, we’ve gotta make sure we meet hardware requirements, like sufficient RAM and a capable GPU, and optimize video playback settings for the best performance. Let’s get started!


