As an Amazon Associate, we earn from qualifying purchases. Some links on this site are affiliate links at no extra cost to you. Our recommendations are based on thorough research and editorial judgment.
Outdoor Shooting Checklist: What Changes in Sun, Wind, and Crowds
When planning an outdoor shoot, we must consider how sunlight, wind, and crowds affect our conditions. Sunlight changes can vary dramatically; the golden hour creates flattering light, while harsh midday sun can produce unwanted shadows. Wind impacts stability and composition, so using a tripod is vital in breezy conditions. Crowds can disrupt our focus, so scouting locations and timing wisely, like opting for quieter corners, is essential. Let’s explore more strategies for tackling these outdoor challenges effectively.
Key Takeaways
- Monitor sunlight changes; utilize golden hour for soft light and employ ND filters to manage harsh glare during bright conditions.
- Assess wind conditions by observing natural indicators and adjust shooting locations accordingly to maintain image quality.
- Choose less crowded times or locations to minimize distractions; use quick engagement techniques to interact positively with passersby.
- Keep backup plans ready for alternative locations or setups to adapt to unexpected weather shifts and crowd dynamics.
- Communicate with clients about potential environmental effects; provide comfort measures and prepare them for fluctuating conditions during the shoot.
Understanding the Impact of Sunlight on Outdoor Photography
Hey there! If you’re interested in outdoor photography, understanding how sunlight impacts your images can make a world of difference. You know that soft, dreamy look you get during the golden hour? That’s when the sun is low on the horizon, and the light is warm and flattering. In contrast, shooting at midday can be tricky because the harsh light creates strong shadows and can wash out details in your photos.
Weather can also change the game. For example, cloudy days can provide even, diffused light that’s perfect for capturing true colors, but as the clouds shift, you might need to adjust your composition or your camera settings on the fly. If it’s blazing hot and bright outside, I recommend using a neutral density (ND) filter. It’s like putting on sunglasses for your camera, helping you avoid those nasty blown-out highlights that can ruin an otherwise great shot.
Also, consider using reflectors to bounce light back onto your subject, filling in the shadows nicely. This way, you can elevate the quality of your outdoor photography without breaking a sweat. Speaking of techniques, let’s chat about how different times of day affect the mood and story of your photos!
For videographers capturing outdoor footage, selecting cables with effective shielding ensures signal integrity despite environmental challenges.
Understanding the Effects of Wind on Shooting Conditions
Hey there! If you’re into capturing stunning outdoor photographs, it’s super important to think about wind and how it affects your shooting conditions. Wind can play a big role in the quality of your shots, and believe me, it varies a lot depending on where you are.
For instance, when you’re out in the open, you might notice how trees sway or how mirages appear on hot days; these are great indicators of wind speed and direction. If the branches are dancing, you can bet the wind is picking up! A practical tip is to use a handheld anemometer to get precise wind measurements—it can really help you make quick adjustments while shooting.
Also, don’t just stay in one spot. Moving around during your shoot allows you to feel how the wind shifts, which can change the whole vibe of your photos. The more you shoot in different conditions, the better you’ll become at adapting to what Mother Nature throws your way. With this knowledge, you’ll be ready for whatever challenges the elements present next! Using reliable tools like high-quality aluminum alloy clamps can ensure your gear stays steady even in gusty conditions.
Navigating Crowds: Strategies for Outdoor Photography Shoots
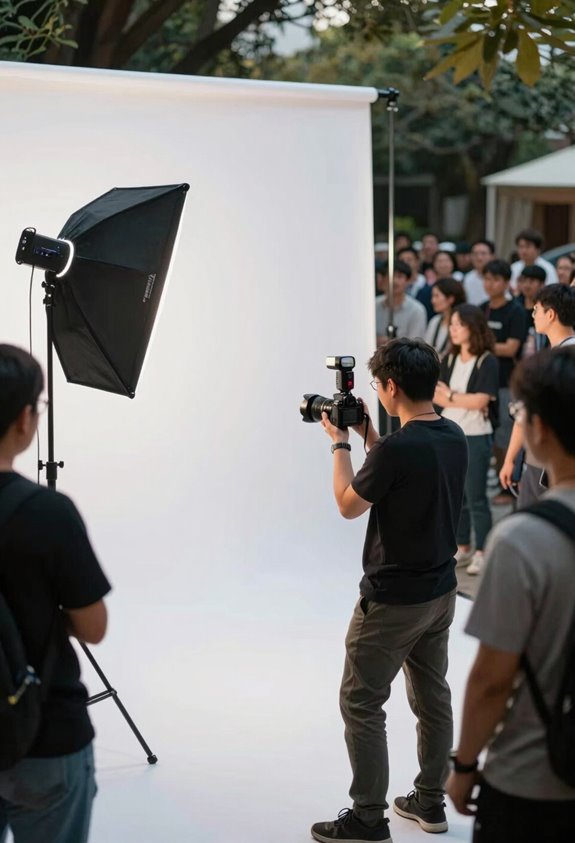
Navigating crowded environments for outdoor photography can be a real challenge, right? When there are so many people around, it can throw a wrench in your composition and timing. To make the most of your shoot, try selecting locations and times that are less popular, like heading out early in the morning or picking a weekday. These quieter moments can make a world of difference for capturing that perfect shot without distractions.
Before you head out, take a few minutes to check out the area using Google Maps Street View. This way, you can spot potential obstacles in advance and think about how to adjust your shooting angles or compositions. For example, if a popular park usually has a crowd near the entrance, consider starting your session at a quieter corner or even an alternate location nearby that you’ve scouted out beforehand.
And here’s a tip – whenever you’re in a public space, don’t hesitate to engage with people around you. A friendly smile or quick chat can go a long way toward keeping things smooth and enjoyable for everyone. By maintaining a positive vibe, you’ll not only enhance your own workflow but also improve your chance of capturing those great images you’re after. With a bit of preparation, you’ll be ready to tackle any crowd that comes your way! Consider also equipping yourself with professional gear like cameras featuring AI auto-tracking technology to effortlessly maintain focus on your subjects despite the crowd.
Client Communication Strategies for Outdoor Photoshoots
So, you’re wondering how to ensure smooth communication with clients before an outdoor photoshoot, right? It really comes down to using some straightforward strategies that keep everyone on the same page. For starters, I love using tools like Iris Works. With it, I can send out automatic reminders to clients, which means they won’t forget important details and last-minute cancellations are less likely.
Next, we always send a detailed itinerary. This includes when and where to meet, plus some outfit suggestions. This way, clients know exactly what to expect. For instance, if we decide to shoot during the golden hour, we can let them know that the light is softer and more flattering, which makes for stunning photos. Plus, a heads-up about the weather helps everyone prepare for any changes.
I really encourage clients to share what they like regarding locations—whether it’s a secluded forest or an open field. This not only helps them feel involved, but it also allows us to capture their vision better. And, hey, sharing popular photography angles on social media can also spark inspiration and help clients visualize the outcome we’re aiming for. This sets a great foundation for our creative collaboration. Since communication is key, let’s explore how we can keep clients engaged during the day of the shoot!
Additionally, discussing stabilization technology options helps manage client expectations about video clarity and smoothness during windy or dynamic outdoor environments.
Safety Measures for Shooting in Crowded Locations
When you’re gearing up for an outdoor shoot in a busy spot, it’s super important to plan ahead and take safety measures seriously. First off, you definitely want to get the necessary permits. Shooting without permission can lead to some hefty fines or legal issues later on, and that’s the last thing you need!
Another key safety measure is to set up barriers or designated areas where your crew can work without interruptions. For example, you could use cones to mark off your shoot area and keep the public at a safe distance. This not only protects everyone involved but also shows the community that you’re respectful of their space.
Don’t forget that it’s a good idea to touch base with local authorities, too. A quick chat can help set expectations and prevent any conflicts with other events happening nearby. And speaking of flexibility, always have a backup plan just in case crowds behave unexpectedly. You might have to adjust your shoot time or even the location if things get too chaotic.
Being prepared like this shows that you care about safety and professionalism, which goes a long way in bustling environments. To ensure stability during unpredictable outdoor conditions, consider using camcorders equipped with Hybrid O.I.S technology for steady video capture. So, let’s move on to some tips on how to engage with the community during your shoot!
Specific Preparations to Consider for Weather Changes
Hey there! So, when we’re gearing up for an outdoor shoot, you know how important it is to consider weather changes, right? Conditions can shift in a heartbeat, so always checking the weather forecast before we head out can save us a lot of headaches. Plus, keeping an eye on the conditions on the day of the shoot is just as crucial; you never know when a sudden rain shower might decide to crash the party!
For those long-range shots we love to capture, having proper sun shades is a must. They help reduce glare and keep our images looking sharp—nobody wants a washed-out photo! And if it looks like rain might sneak in, those rain covers for our gear work wonders—trust me, they can save our equipment from getting drenched.
Also, think about our clients; it’s a true touch of class to provide shade on a hot day or have some heating solutions ready when it gets chilly. It shows we care about their comfort and makes for a better experience all around. Oh, and don’t forget to have backup locations in mind that can handle different weather scenarios. That way, we’re all set, no matter what Mother Nature decides to throw at us! Speaking of which, let’s chat about some creative location options we can have on standby.
Additionally, investing in a carbon fiber tripod can greatly improve stability and portability during unpredictable outdoor conditions.
Techniques for Effective Lighting Management in Outdoor Settings
Hey there! Let’s chat about effective lighting management in outdoor settings, because it can really make or break your photography. Have you ever noticed how the light changes throughout the day? The golden hour—the time just after sunrise or just before sunset—offers this amazing soft light that can turn a pretty good photo into something spectacular.
One thing I find super helpful is bringing along reflectors. They’re like magic boards that bounce light back onto your subject, which softens harsh shadows and adds a nice glow. For instance, if you’re shooting a portrait of someone under a tree, using a reflector can brighten their face without getting those harsh shadows you’d usually get from direct sunlight.
Don’t forget about using ND filters too! These nifty gadgets help reduce the overall light that hits your camera’s lens. This means you can keep your exposure just right even when it’s super bright outside, allowing for those creative adjustments like smooth, dreamy effects in your water shots.
Lastly, always keep an eye on how the sunlight changes as you’re shooting. Being prepared for different lighting conditions means you’ll always know what to do to keep your images looking amazing.
And speaking of preparation, let’s talk about how organizing your gear can further enhance your outdoor photography experience! Using diffusion filters can also help soften highlights and add a cinematic quality to your outdoor portraits and videos.
Final Thoughts: Integrating Strategies for Successful Outdoor Shoots
If you want to pull off a successful outdoor shoot, it’s all about combining a few key strategies that help you tackle whatever Mother Nature throws your way. First off, having a detailed shot list is super helpful. It keeps you focused and ensures you catch everything you need, especially when it gets chilly and time is limited. For instance, if it’s really cold, you might not want to linger too long, so planning ahead makes a big difference.
Next, consider scouting your locations beforehand. This can save you from dealing with unexpected crowds or tricky access issues on the day of your shoot. Imagine showing up and realizing the path you planned to use is blocked by a festival—yikes! By learning your spots ahead of time, you’ll spend less time stressing and more time capturing the good stuff.
Also, keep an eye on the weather with reliable apps. You can adjust your plans on the fly if a storm rolls in or if the sun decides to play peek-a-boo. Communicating with your clients about how light changes throughout the day can help set realistic expectations, making everyone more comfortable. And don’t forget about using stabilization tools! They can save your footage from being shaky when the wind kicks up unexpectedly. For optimal lighting in variable outdoor conditions, consider incorporating continuous lighting options to maintain consistent illumination throughout your shoot.
Frequently Asked Questions
What Should My Camera Settings Be on a Sunny Day?
On a sunny day, we’re adjusting our exposure triangle perfectly! We use a faster shutter speed, smaller aperture settings, and an ISO adjustment of 200-400. It’s a dance of light for stunning photos!
What Time Is the Golden Hour for Photography?
The golden hour for photography varies, usually occurring shortly after sunrise and before sunset. To maximize our outdoor lighting, let’s track sunset timing using apps, ensuring we capture stunning images during these magical moments.
How to Take Pics When It’s Windy?
In windy conditions, we can stabilize our shots by using tripods and sandbags. Let’s experiment with creative angles and wear protective gear to keep our equipment safe while capturing stunning images despite the breeze.
What Do You Usually Want to Maximize When Shooting a Landscape?
When we capture a landscape, we’re aiming to highlight foreground elements, weaving color contrast into our frame. By framing composition thoughtfully and harnessing natural lighting, we create images that truly resonate with viewers.


