As an Amazon Associate, we earn from qualifying purchases. Some links on this site are affiliate links at no extra cost to you. Our recommendations are based on thorough research and editorial judgment.

Why 4K Footage Looks Soft: Focus, Shutter, and Compression Causes
4K footage often appears soft due to several key factors, including incorrect focus settings, improper shutter speeds, and compression artifacts. When we shoot at high resolutions, even slight focus discrepancies become pronounced, while slow shutter speeds can introduce unwanted motion blur. Additionally, heavy compression during export can compromise clarity, leading to noticeable artifacts. By addressing these causes through careful camera settings and techniques, we can greatly enhance the sharpness of our footage, and we can explore more solutions ahead.
Key Takeaways
- Higher resolutions amplify focus discrepancies, making any off-focus shots more noticeable in 4K footage compared to HD.
- Low light conditions demand higher ISO settings, which can introduce noise and reduce overall clarity.
- Improper shutter speeds can cause motion blur; maintain approximately 1/120th of a second for 60 fps to avoid blurriness.
- Heavy compression during export may create artifacts, leading to a loss of detail and apparent softness in the video.
- Environmental factors, such as camera shake or inadequate lighting, can significantly affect the sharpness and clarity of 4K footage.
What Makes 4K Footage Look Soft?
So, you know how sometimes 4K footage can look a bit soft or fuzzy? It’s mainly because of a few technical issues that come into play. First off, if your focus is even slightly off, higher resolutions can really make those mistakes stand out. Imagine trying to shoot a close-up of a flower, and it’s just a tad out of focus—on a regular HD camera, you might not notice, but on a 4K camera, it’s super obvious.
Next, let’s talk about shutter speed. If you’re shooting at 60 frames per second, you really want your shutter speed to be around 1/120th of a second. This helps to cut down on motion blur, especially during fast movement—like filming someone running. If you choose a slower shutter speed, that motion blur can make your footage look a little hazy.
Compression is another biggie. When you export your footage, if you’re using heavy compression, it can introduce those annoying compression artifacts that take away from the clarity of your 4K video. And don’t forget about lighting! Shooting in low light can lead to lost details in shadows and highlights, which contributes to that overall softness you might see in your recordings.
In short, getting that crisp look in 4K footage is all about nailing the focus, using the right shutter speed, managing compression, and ensuring you have good lighting. Next time you’re out filming, keep these factors in mind to help you capture sharper, clearer shots! Also, using anti-shake technology can help maintain clarity by stabilizing your footage during handheld shooting.
How Shutter Speed Affects Motion Blur

Hey! So, let’s chat about shutter speed and how it plays into motion blur, especially if you’re aiming for that crystal-clear 4K footage. When you’re filming at 60 frames per second, shooting with a shutter speed of around 1/120th of a second is usually your best bet. This setup helps reduce motion blur, which is super important during fast action scenes.
Now, if you decide to go slower with the shutter speed, you might notice more blur creeping into your shots, especially with subjects that are moving a lot, like athletes or cars zipping past. For instance, if you film a soccer player kicking a ball and choose a shutter speed of 1/60th, you might see a dreamy blur around the ball, which makes it less sharp in that high-res 4K environment where every detail counts.
On the flip side, using a fast shutter speed—think 1/500th of a second or even quicker—can freeze motion beautifully. Imagine capturing a bird in flight; a quick shutter lets you capture every feather in crisp detail without any blur. Just keep in mind, though, that if you use shutter speeds between 1/15 and 1/250 seconds, you might run into shutter shock, causing unwanted blur that could require some stabilization tweaks. Using a 3-axis stabilization gimbal can help minimize this blur by providing smooth, shake-free footage.
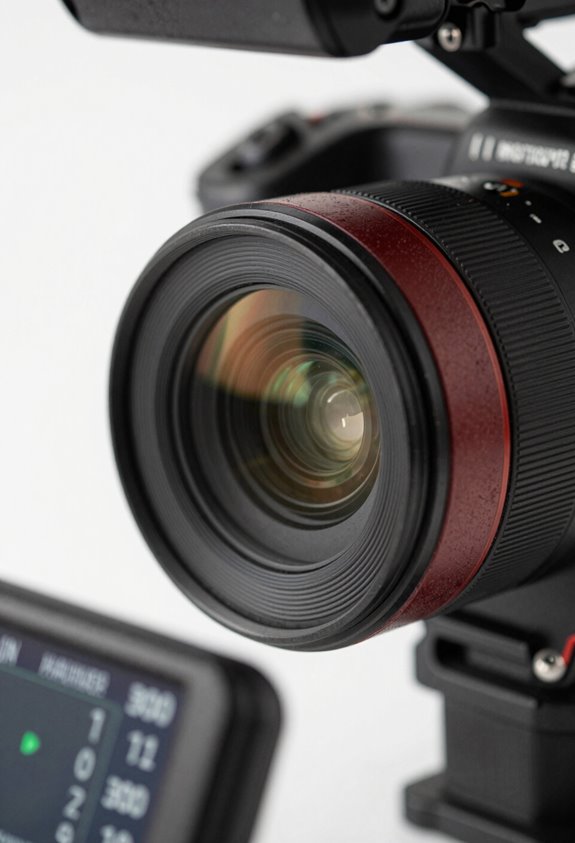
Focus Issues Impacting 4K Video Clarity
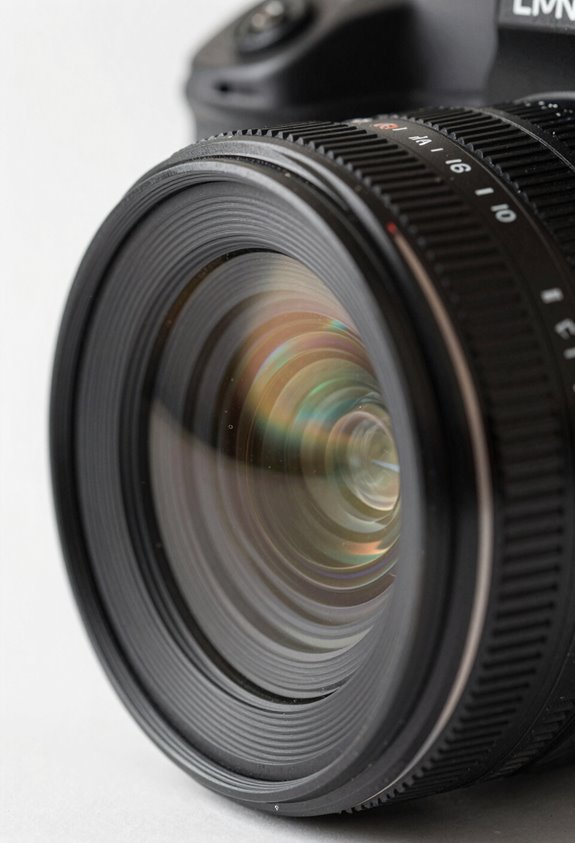
Getting sharp focus in 4K video can be a bit tricky, and that’s because higher resolutions really amplify any focus mistakes that might fly under the radar in lower resolutions. Even a tiny slip-up in focus can jump out at you, making the video look less professional. One practical tip is to use larger monitors while you’re shooting. This can really help you double-check sharpness more effectively and ensure everything looks just right.
It’s also important to keep in mind that relying solely on your camera’s autofocus and subject detection features can sometimes lead to surprising results. For instance, if your camera mistakenly focuses on a background object instead of your intended subject, it can ruin a great shot. That’s where AF Fine Tuning comes into play. This feature lets you make adjustments for any focus discrepancies, so your main subject stays nice and sharp.
At the end of the day, knowing your camera and practicing good focus techniques can often make a bigger difference than just using automated tools. The more familiar you are with your gear, the smoother the filming process will be, helping you create videos that truly shine. Speaking of getting the details right, let’s talk about composition and lighting next, as they’re crucial in enhancing your video quality too! Utilizing a wireless follow focus system can significantly improve precision and consistency in focus pulls during shooting.
Compression Artifacts: Why They Matter
Hey there! Let’s chat about something that might not come up in casual conversations but is super important in video production—compression artifacts. So, what are these pesky little things? They show up when we compress our 4K footage, often as annoying noise or blurry sections, especially during fast movements or complicated scenes. This can really take away from that polished look we’re aiming for, particularly when we post our videos on platforms like YouTube.
Now, you might think that cranking up your bitrate to, say, 75 or 100 Mbps will fix everything, but that’s not always the case. For example, if you downconvert your amazing 4K footage to 1080P, it can end up looking softer than footage shot natively in 1080P. That’s why you want to pay close attention to your compression settings during post-production. Taking a few extra minutes to adjust these settings can prevent those annoying blocky distortions and keep your visuals sharp and appealing. Using equipment with advanced stabilization technology can also help reduce motion blur and improve overall footage clarity.
The Effect of Lighting Conditions on Sharpness
Hey! Let’s talk about how lighting can make or break your 4K footage. Good lighting is super important if you want your videos to look sharp and high-quality. When the light is poor, you often have to crank up the ISO, which can introduce noise and make your footage look soft and blurry. Imagine trying to capture a beautiful sunset but ending up with grainy images—that’s the kind of frustration we’re trying to avoid!
Also, in low light, you might find yourself slowing down your shutter speed. While this can sometimes create a nice effect, it often leads to motion blur, especially if you’re filming at 60fps. Think about it: if you’re recording a moving subject, like a skateboarder, you want every detail crisp and clear, not a blurry mess. Natural light is your friend here, especially during the golden hour when the sun casts a warm glow, making everything look more vibrant and reducing those harsh shadows.
Using a camera with built-in image stabilization can help reduce blur caused by shaky hands or movement in low-light filming.
How Camera Settings Can Fix Common Quality Issues
You know how camera settings can make all the difference in the quality of our 4K footage? It’s pretty fascinating! Just think about how simple tweaks can really sharpen up our videos and solve some common problems we face. For example, if you set your shutter speed to double your frame rate—like using 1/120th of a second for shooting at 60 frames per second—you can really cut down on that pesky motion blur and make everything look sharper.
Then there’s ISO settings. Using manual ISO lets you take control of the exposure, which means you can keep noise to a minimum and ensure all those little details pop in your footage. And don’t forget about white balance—keeping it consistent (like setting it to around 5500K for natural daylight) can help you avoid those awkward color casts that can creep in.
Lastly, if you’re serious about smooth footage, consider using image stabilization tools. They make a world of difference, making your shots look buttery smooth and professional. When you combine all these settings, you’ll see a significant boost in the quality of your 4K recordings! Speaking of enhancements, let’s chat about some editing techniques that can help polish your footage even more. Alternatively, upgrading to cameras with 15+ stops of dynamic range can dramatically improve the visual quality and post-production flexibility of your footage.
Effective Post-Production Techniques to Sharpen Soft Footage
If you’ve ever dealt with soft footage in post-production, you know how frustrating it can be. The good news is that sharpening soft footage doesn’t have to be a headache! Let me share some tips and tools that can really make a difference in your video.
First off, if you’re using Final Cut Pro, the Stock Sharpen filter is your best friend. Try setting it somewhere between 2.5 and 3 to boost detail without making the image look too noisy. It’s all about finding that sweet spot—just a little goes a long way! On the other hand, if you’re in Adobe Premiere Pro, I recommend going for manual sharpening. You’ll want to adjust the amount carefully to prevent those annoying artifacts from popping up.
Before you sharpen anything, though, make sure to tackle any noise you might have. Noise can really stand out when you sharpen, so using noise reduction first is key. Also, if your footage is a bit shaky, don’t forget about the Warp Stabilizer. It smooths out those bumps and can enhance the sharpness of your shots. Additionally, using camcorders with advanced image stabilization can help reduce softness caused by motion blur right from the start.
Exporting 4K Video Without Losing Quality
When it comes to exporting 4K video, getting the quality just right can feel a bit tricky. But don’t worry, I’ve got some practical tips to help you out! First things first, using a solid format like MP4 with H.264 or H.265 codecs is key. These options do a great job of keeping your video clear and sharp during playback.
Now, it’s super important to match your export resolution to your original footage—stick with 4K, which is 3840×2160. If you don’t, you might end up with a pixelated video that just doesn’t look good. Plus, setting your bitrate to at least 40 Mbps helps reduce those pesky compression artifacts; basically, it ensures your video retains quality without those annoying glitches.
Also, make sure to keep the original frame rate so your video plays smoothly. You could try using VBR 2-pass encoding, where the first pass analyzes the video and the second compresses it. This can help enhance detail while still keeping the file size manageable—perfect for showcasing those intricate shots you worked hard to capture.
Using reliable power sources like AC power adapters is essential to maintain consistent performance and prevent interruptions during video export processes.
Improving Softness in Exported Results
Hey there! If you’ve ever felt a bit overwhelmed by the idea of exporting sharp 4K footage, you’re not alone. It might seem complicated, but there are some straightforward tricks that can really help boost clarity and combat that pesky softness you might notice.
First off, let’s talk export settings. A good practice is to go for higher bitrates, like using VBR 2-pass. This setting helps keep the video quality in check while reducing those annoying compression artifacts that can muddy your image. Now, when you’re shooting video, try using manual ISO settings. This gives you better control over exposure, which can make your footage look much crisper. For example, if you’re filming in a dim environment, tweaking your ISO can really help light up your shots without turning them grainy.
Another cool tip is to use Premiere Pro’s sharpening tools. The Stock Sharpen filter is a great option, and setting it between 2.5 to 3 can help enhance details without making everything look too noisy. Finally, when it’s time to export your project, consider using high-quality formats like ProRes; this helps minimize any quality loss after editing. Additionally, shooting with cameras that feature 5-axis stabilization can significantly improve the smoothness and clarity of your footage. By keeping these steps in mind, you can create stunning videos that look sharp and polished.
Frequently Asked Questions
Why Does My 4K Camera Look Blurry?
Our 4K camera might look blurry due to incorrect focus settings, subpar lens quality, inconsistent lighting conditions, or inadequate camera stabilization. Let’s review these aspects and improve our footage clarity together.
Why Do 4K Videos Look Grainy?
We often notice 4K videos looking grainy due to poor lighting conditions and lens quality. Additionally, if our playback settings aren’t optimized for high video resolution, artifacts and noise can become more pronounced, affecting overall clarity.
Why Does My 4K Footage Look Choppy?
Our 4K footage looks choppy mainly due to low frame rates or resolution mismatches. We should check our editing software’s playback settings to verify everything’s configured correctly for smooth, high-resolution viewing.
How to Play 4K Videos Smoothly?
It is understood it can feel overwhelming, but to play 4K videos smoothly, we should check our video playback settings, optimize editing software, meet hardware requirements, and make certain our streaming platform performs well.


