As an Amazon Associate, we earn from qualifying purchases. Some links on this site are affiliate links at no extra cost to you. Our recommendations are based on thorough research and editorial judgment.

Export Settings Explained: Delivering Clean 4K for Youtube/Social
To deliver clean 4K content for YouTube and social platforms, we should utilize 3840×2160 resolution, which guarantees stunning clarity. For codec selection, we recommend exporting with H.265 for superior quality while maintaining file size, but using H.264 for broader compatibility. It’s essential to manage bitrate—aim for 150 Mbps to balance quality and upload speed—while setting audio to AAC at 320 kbps for clarity. With these settings in mind, we can enhance viewer experience and overall production quality. If we continue, we’ll explore more export strategies.
Key Takeaways
- For optimal quality, export 4K videos using H.265 codec for efficient compression and superior visual detail.
- Set bitrate between 66–85 Mbps for 60fps videos to balance quality and upload speed, while keeping uploads around 150 Mbps.
- Use Variable Bitrate (VBR) 2-Pass settings for enhanced quality while managing file size effectively.
- Employ the AAC codec with a 320 kbps audio bitrate and 48 kHz sample rate for professional sound.
- Match the Group of Pictures (GOP) structure to your frame rate to reduce artifacts and maintain visual clarity.
Why You Should Use 4K Resolution for YouTube Videos
Hey there! If you’re planning to upload videos on YouTube, let me tell you why using 4K resolution is a smart move. With a stunning 3840×2160 pixel dimension, 4K really elevates your video quality. Think about how crisp and detailed your favorite films look when you watch them on a big screen—that’s the kind of clarity you can create with 4K, even if your original footage is only 1080p.
Plus, when you upload in 4K, YouTube’s advanced codecs, like VP9 or AV1, come into play. These codecs help re-encode your video in a way that maintains great quality, resulting in a smoother viewing experience. For example, if you’re showcasing a scenic landscape or a fast-paced action scene, the details and colors will shine through much more vividly in 4K. Additionally, having higher resolution footage allows for better editing flexibility and the possibility of cropping without losing video quality.
Choosing the Right Codec for YouTube: H.264 vs. H.265
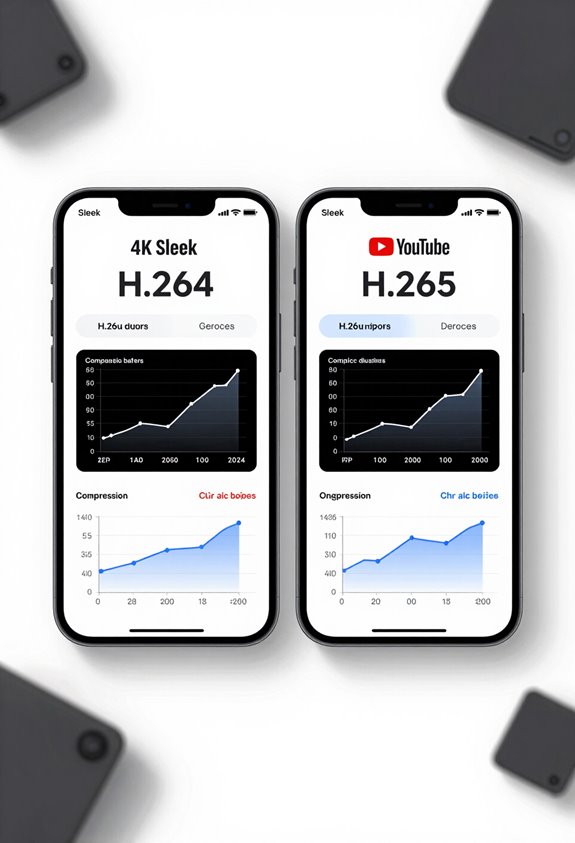
So, if you’re figuring out which codec to use for your YouTube uploads, you really want to think about H.264 versus H.265. H.264 is still the go-to choice for most people. It strikes a great balance between keeping your video quality high and the file size manageable. This means it works well on a wide range of devices, so you don’t have to worry about compatibility issues when your video is viewed by different audiences.
Now, on the flip side, H.265, also known as HEVC, takes things up a notch when it comes to quality, especially if you’re working with 4K videos. It compresses files even more efficiently, which is a big plus. Just keep in mind that not every device supports H.265 yet, especially older ones. A practical tip? If you’re exporting a video in H.265 for storage efficiency, consider making a second version in H.264 for your YouTube upload. This way, you can maintain the quality while ensuring the video plays smoothly for everyone.
As we keep chatting about video formats, you’ll notice that understanding your audience’s tech can really help you choose the best options for your content! Also, pay attention to your camera’s image stabilization features, as they greatly influence the clarity and smoothness of your 4K footage when exported.
Master Your Bitrate for Minimal Compression Issues
Hey there! Let’s talk about bitrate—it’s super important if you want your 4K videos to look stunning and avoid those pesky compression issues. Think of bitrate as the amount of data used to help create your video. When you use Variable Bitrate (VBR), you get a better quality file while keeping the size down. It’s like packing your suitcase for vacation—just the right amount of clothes without overstuffing it.
For those of you are planning to upload videos to YouTube at 60fps, aiming for a bitrate between 66–85 Mbps is ideal. This sweet spot significantly reduces the chances of seeing compression artifacts, those annoying distortions that ruin your visuals. And if you’re curious about tweaking things further, playing around with bitrates between 150 Mbps and 200 Mbps might not make a noticeable difference in quality, but it can slow down your upload speed. So, it’s worth considering.
Now, here’s a little tip: when you’re setting your Group of Pictures (GOP) length, try to align it with your frame rate. For example, if your video is running at 60fps, setting your GOP to 60 frames can really boost the overall quality and make compression work better for you. It’s all about finding that balance! Speaking of balance, now that we’ve cracked the code on bitrate, let’s look at how to optimize your video settings for the best possible playbacks.
Also, paying attention to your optical zoom range can ensure your footage maintains clarity when capturing distant subjects, complementing your well-optimized bitrate settings for maximum video quality.
Get the Best Sound With These Audio Tips for Youtube
If you want your YouTube videos to sound amazing, nailing the right audio settings is key. First up, go with AAC (Advanced Audio Coding) for your audio codec—it’s a fantastic choice that ensures your uploads sound great! For clarity and richness in your audio, set the bitrate to 320 kbps. This is like giving your sound a little boost, so your audience can really immerse themselves in what you’re saying.
Now, let’s talk sample rates. Aiming for 48 kHz helps you align with professional editing standards, making your audio more compatible across various devices. Imagine listening to your video on a phone and a fancy speaker; you want it to sound equally good on both, right? Plus, when it comes to loudness, try to hit around -14 LUFS. This gives your viewers a nice, balanced listening experience without any harsh spikes.
It’s also a great idea to use some dynamic audio processing to keep your volume levels consistent. Think of it like mixing a song—you want the peaks to stay in check so your listeners don’t have to adjust their volume constantly. Overall, all these tips help you create engaging and professional audio that enhances your videos. Using a super cardioid polar pattern microphone can also help reduce background noise for cleaner recordings. Now that we’ve got the audio down, let’s explore some other ways to elevate your content!
Troubleshooting Common Export Problems for YouTube?
Hey! Let’s talk about some common export problems you might run into when uploading your videos to YouTube. One issue that can crop up is related to YouTube’s compression, which can actually reduce your video quality if the bitrate is too high. A good rule of thumb is to lower your bitrate to around 150 Mbps—it’s a sweet spot that usually does the trick!
Another thing to consider when you’re in Adobe Premiere is the Group of Pictures (GOP) structure. If you match it with your frame rate, you can really cut down on visual artifacts like pixelation. Say you’ve got some action-packed footage; adjusting your export settings to prioritize the textures can help maintain those fine details, keeping your video crisp even during fast scenes.
Also, don’t forget about variable bitrate (VBR) settings. Using VBR 2-Pass can significantly enhance your video quality without bloating the file size too much. Lastly, if you’re working on a shorter video, ProRes LT might be a good choice. It balances quality and efficiency quite well for uploads.
Finding these settings might feel like a bit of a puzzle at first, but it’s all about experimenting to see what works best for your footage. It can definitely make a difference in how your final video comes across on YouTube! For vloggers, having a camera with a rotating touchscreen can help frame your shots perfectly before export, ensuring better video quality from the start.
Frequently Asked Questions
What Is the Best Export Setting for Youtube?
For the best export settings for YouTube, we’d recommend using an MP4 container with H.264 codec, 1080p resolution, matching frame rate, AAC audio quality, and effective color grading to balance file size and visual impact.
What Is the Best Export Settings for Social Media Video?
To charm the social media gods, we should use MP4, H.264 codec, ideal aspect ratios, and perfect audio quality. Don’t forget that eye-catching thumbnail design! Engaging our audience isn’t just an option—it’s essential!
Should I Export in 4K or 1080P for Youtube?
We should definitely export in 4K for YouTube, as its benefits outweigh 1080p efficiency. It future-proofs our content, optimizes audience preferences, and enhances playback across devices, despite higher storage needs and potentially slower upload speeds.
What Bitrate Should I Export at 4K?
We should export at a bitrate between 65-85 Mbps for 4K to optimize resolution and minimize compression, ensuring excellent video quality. Editing software’s settings can help balance file size and playback compatibility on streaming platforms.


