As an Amazon Associate, we earn from qualifying purchases. Some links on this site are affiliate links at no extra cost to you. Our recommendations are based on thorough research and editorial judgment.
Metadata and Clip Naming: How to Speed up Editing Later
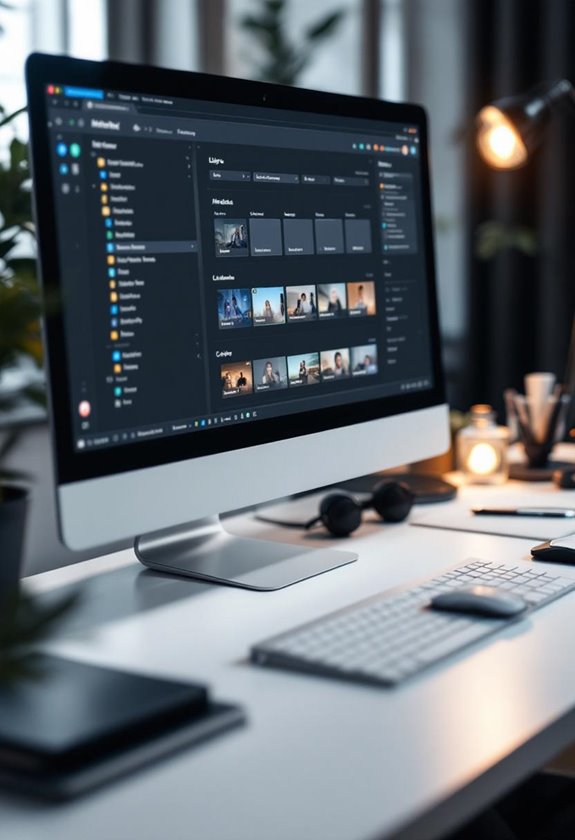
To speed up our editing later, we should prioritize metadata management and consistent clip naming. By organizing clips with detailed tags and using clear naming conventions, like “ProjectX_2023-04-10_Cafe_Interview_Angle1.mov,” we enhance searchability and quick access. Smart Collections in software like Final Cut Pro automate groupings, and intelligent metadata tools streamline our workflows. This structured approach minimizes time spent searching, ensuring a more efficient editing process. We can explore additional techniques to further optimize our workflows.
Key Takeaways
- Use descriptive and consistent naming conventions for clips, aiding quick identification during editing sessions.
- Tag video clips with relevant metadata like scene, shot, or take to enhance searchability and organization.
- Employ Smart Collections in editing software to automatically group tagged clips, streamlining the editing workflow.
- Organize clips into structured folders and bins to minimize overwhelm and facilitate quicker access to footage.
- Utilize batch editing features to maintain uniformity in file names, making it easier to locate specific clips later.
The Role of Metadata in Video Editing Efficiency
You know, when it comes to video editing, being efficient is super important. That’s where metadata really comes into play. Think of metadata as a way to organize all your video clips, making it easier to find exactly what you need without wasting time scrolling through a pile of footage.
For example, if you’re using Final Cut Pro, you can tag your clips with specific details like “scene,” “shot,” or “take.” This means you can quickly locate that perfect shot with just a few clicks. Plus, you can set up Smart Collections that automatically gather clips based on those tags, so you can filter through your footage by categories that make sense to you. Using monitors with multi-view monitoring capabilities also helps streamline the editing workflow by allowing simultaneous viewing of multiple clips.
Creating Consistent Naming Conventions for Video Assets
You know, organizing video assets can really feel overwhelming at times, especially when you’re knee-deep in editing. That’s why having a solid naming convention for your files is super helpful. Think about it this way: if you name your files something clear and descriptive—like “ProjectX_2023-04-10_Cafe_Interview_Angle1.mov”—it makes finding and sorting through all those clips a breeze.
Consistency is really important here. By sticking to a simple format that includes the project title, the date, the location, and the type of shot, you’ll save yourself a ton of headaches later on. Plus, if you use metadata variables, you can automate how clips are named right from the start. For instance, if you take multiple shots of an interview, naming them sequentially, like “Café_Interview_Take1” and “Café_Interview_Take2,” helps keep everything organized.
And don’t forget, most editing software lets you batch edit clip names too, which is a lifesaver when you’re trying to keep everything uniform across the board. By implementing this naming strategy from the very beginning of your project, you’ll create a smoother workflow and reduce the chaos that often comes during post-production. Speaking of which, let’s talk about tips for categorizing these clips further so you can really optimize your process! Additionally, integrating metadata related to advanced image stabilization can help you quickly identify clips based on their technical qualities, further enhancing your editing efficiency.
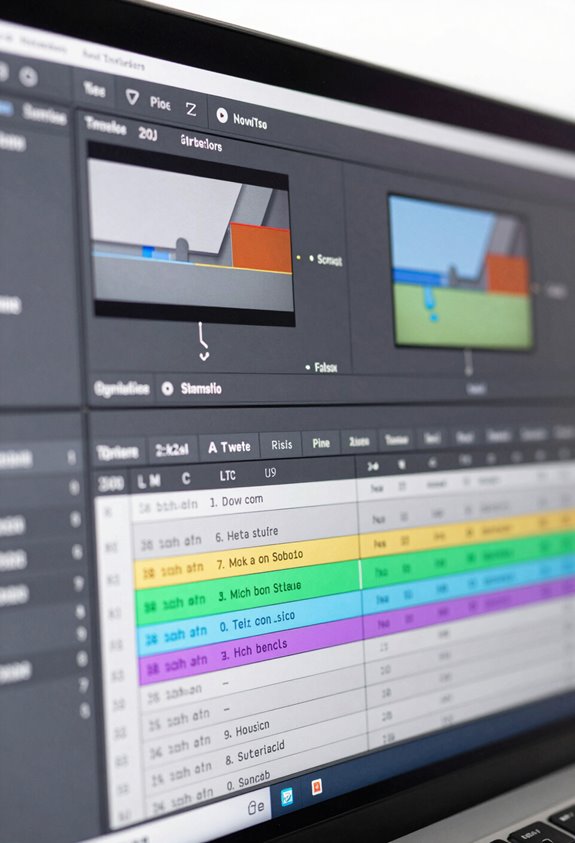
Organizing Clips With Folders and Bins
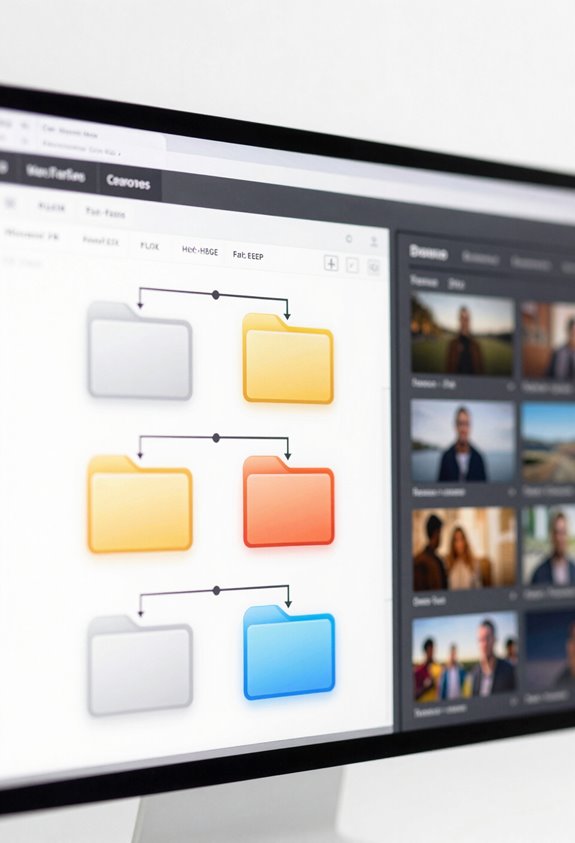
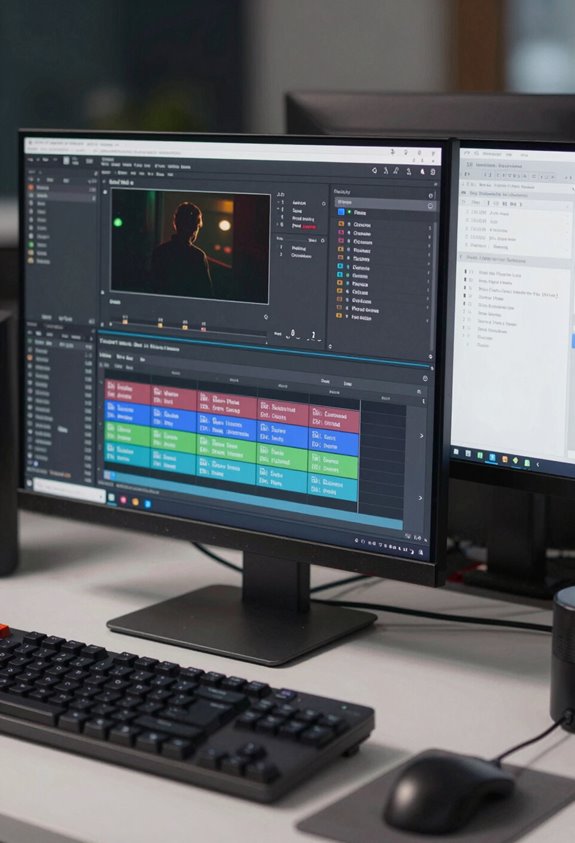
When it comes to organizing your video clips, creating a solid structure with folders and bins is key to a smooth editing experience. Think of it as tidying up your workspace—having everything in its right place helps you find what you need without the headache of searching through a chaotic mess. In programs like Adobe Premiere Pro, you can use bins like virtual folders. For instance, if you’re working on a travel video, you might create bins for clips from different locations or activities so you can access them quickly while editing.
Similarly, if you’re using Final Cut Pro X, events play a similar role. It’s recommended to keep each event to around 1,000 media pieces to avoid overwhelming yourself. You might categorize your footage by scene or type of content, making it easier to pick and choose clips as you go. This kind of organization not only makes your workspace look neat, but it also speeds up your editing process, letting you focus on creativity instead of hunting for clips. Using monitors with waveform monitoring can also improve your editing efficiency by ensuring consistent visual quality during filming. Now that we’ve set the groundwork for organization, let’s talk about best practices for labeling and tagging clips to make this process even easier.
Techniques for Quick Clip Access and Efficient Searches
Hey there! Let me share some cool techniques for quick clip access and efficient searches that can really make your editing process smoother. Imagine being able to find that perfect clip within minutes instead of hours—sounds pretty great, right? One key way to achieve this is by using effective metadata. This is basically a way to label and categorize your clips so that you can easily sync and search through your archives.
For starters, if you create a simple and consistent naming system for your clips, it’ll be way easier to find what you’re looking for during editing. For example, you could use names like “Interview_John_Doe_March2023” which instantly tells you what the clip contains, making identification a breeze. Also, incorporating relevant keywords in the metadata of your clips can help group related content together.
Another handy tool is the Smart Collections feature in editing software like Final Cut Pro. This allows you to filter clips based on specific criteria, such as date or subject matter, which sharply reduces the time spent sifting through footage. Plus, when you tag particular sections within longer clips, you can quickly jump to the moments that matter most to you, keeping your workflow efficient and organized. Using cameras with high-resolution capabilities ensures your clips have the detail needed to maximize the effectiveness of metadata tagging.
How Smart Metadata Tools Enhance Editing Workflows
Hey there! You know, as we’ve been exploring the ins and outs of editing, I’ve realized something really exciting: smart metadata tools can seriously boost our editing workflows. For instance, in DaVinci Resolve, these tools allow us to create Smart Collections that help us organize footage based on what we need—like filtering clips by scene or even by take. This means instead of rummaging through endless files, we can easily access exactly what we want, saving us loads of time.
Another cool aspect is using metadata for naming our clips. Think about it: you can set it up so that the names automatically include details like the scene, shot, and take number. This really speeds things up because you can find clips whenever you need them without sifting through confusing file names. Plus, when we use metadata tagging, we can highlight important parts of our clips without changing the actual footage. That way, we keep our creative options open while editing.
Ultimately, leaning into these smart metadata features not only keeps our projects organized but also makes the whole editing experience more enjoyable. Now, let’s talk about how we can implement some of these tools in our everyday projects. Camcorders with digital anti-shake technology can also aid in capturing more stable footage, which improves the quality of metadata tagging related to motion and scene changes.
Frequently Asked Questions
What Is the 321 Rule of Editing?
The 321 Rule of editing means we keep three copies of our footage, on two different media types, with one off-site. This method enhances our editing efficiency, file organization, and clip management while highlighting metadata’s importance.
How to Increase Speed in Video Editing?
To increase speed in video editing, we must enhance our editing workflow through efficient logging, clip categorization, and meticulous project organization. Like a well-tuned orchestra, every piece needs its place for harmony in creativity.
What Is the 321 Rule in Video Editing?
The 321 rule in video editing means we keep three copies of our footage on two different storage mediums, ensuring better project organization and editing efficiency while enhancing our storage management against data loss risks.
How Can You Adjust the Speed of a Clip in the Timeline?
To adjust a clip’s playback speed, we can right-click in the timeline and select speed options for the clip duration. Additionally, we can utilize keyboard shortcuts for quicker timeline adjustments, enhancing our editing techniques efficiently.


